HOw to load a custom map onto your CObb accessport
When you choose Snail Performance for your performance tuning solution sometimes you may require a base map to install onto your Accessport to flash your cars ecu for the mods you have installed. This will allow you to safely drive to the shop for you tuning appointment with all your new mods with the correct calibration installed on the ecu.
Also you can use these instructions if you have received an update to your custom protuned map after your dyno tuning session has been complete.
If you have any questions please email or call us with any questions you may have.
Step 1: You will need to download Accessport Manager installed onto your computer.
You can download it here: Accessport Manager
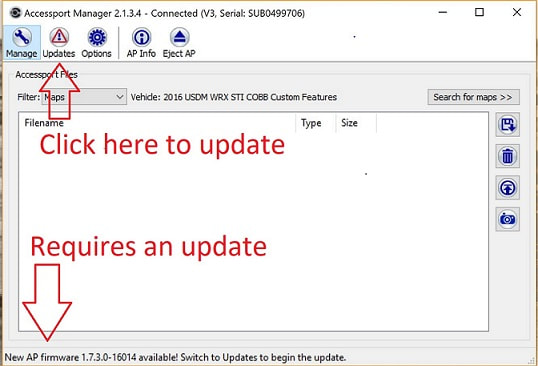
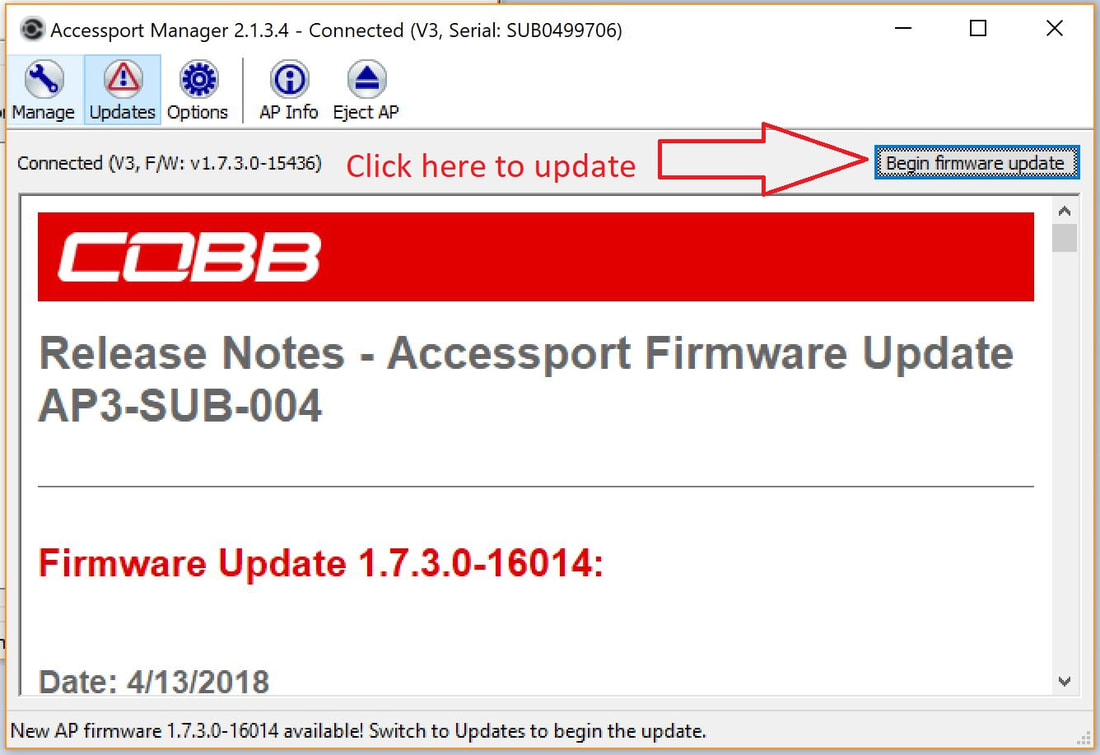
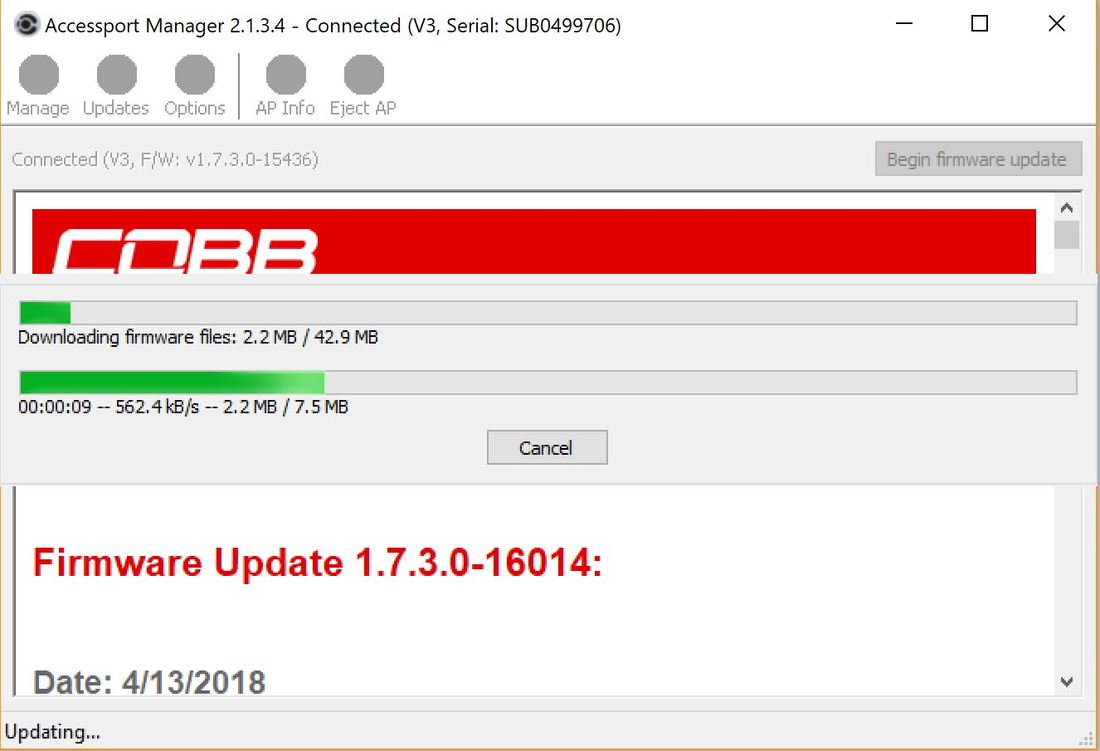
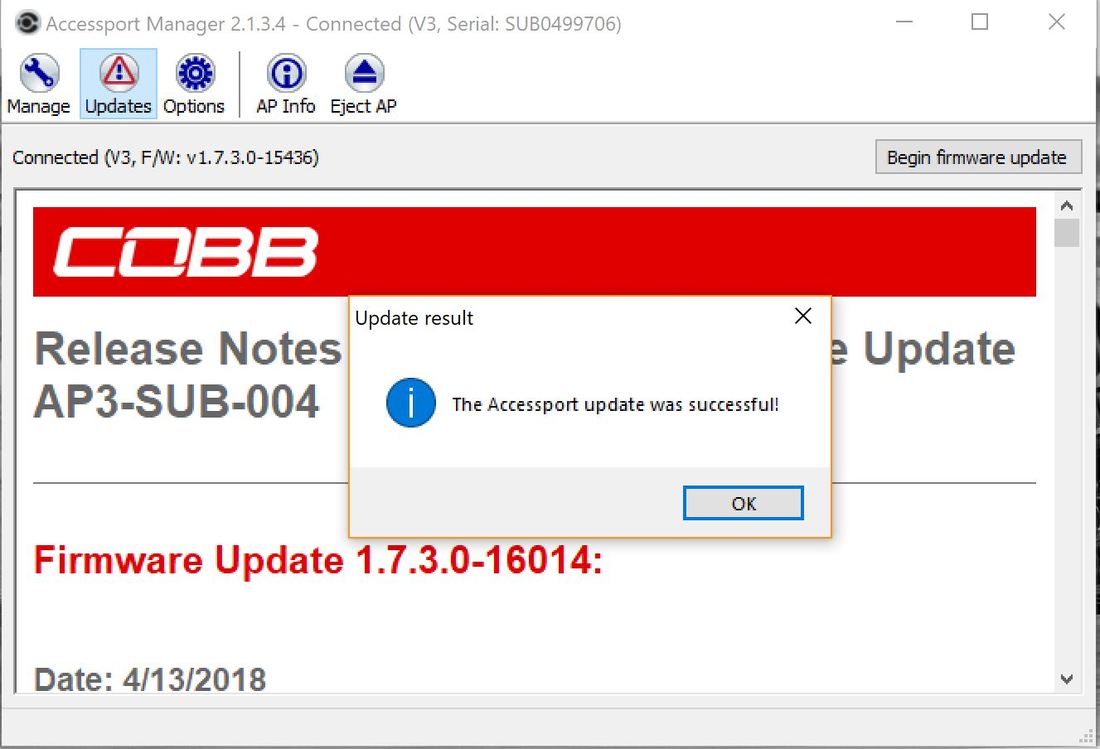
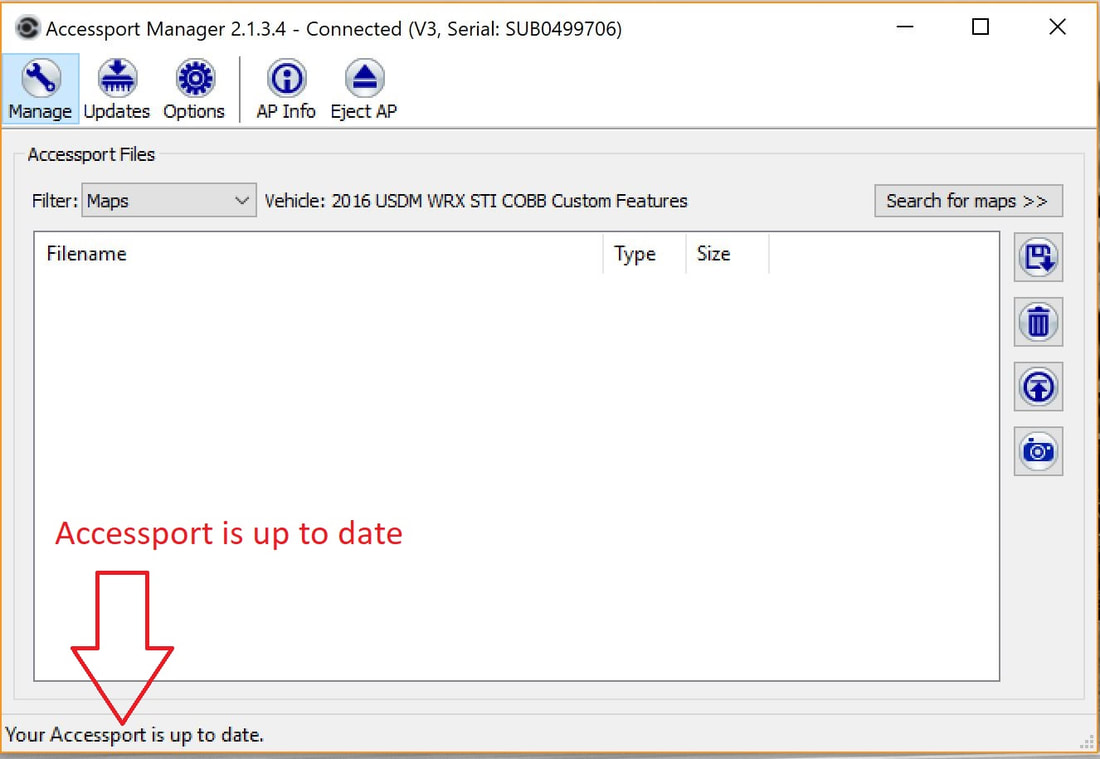
Step 2: Plug in your Accessport to your computer using the supplied cable and let the Accessport connect to Accessport Manager. Once it is connected let Accessport Manager save the stock ROM file to your computer if it hasn't done so all ready. When that is complete Accessport Manager will let you know if the Accessport requires an updated or not. If it requires an update go ahead and update the Accessport.
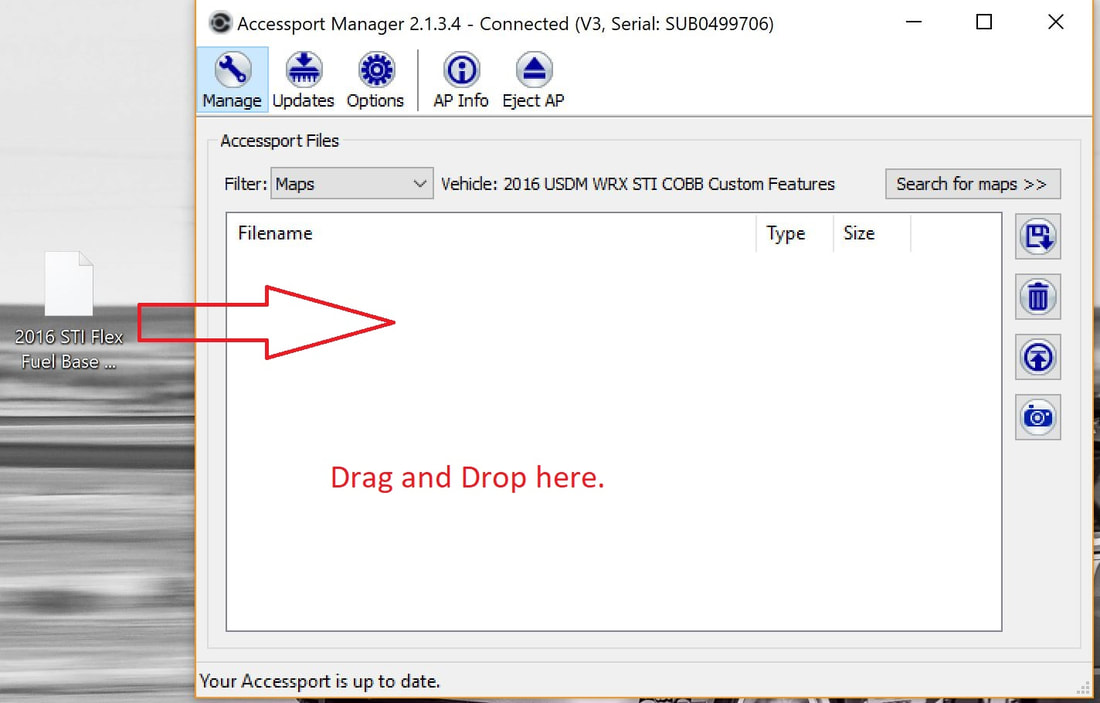
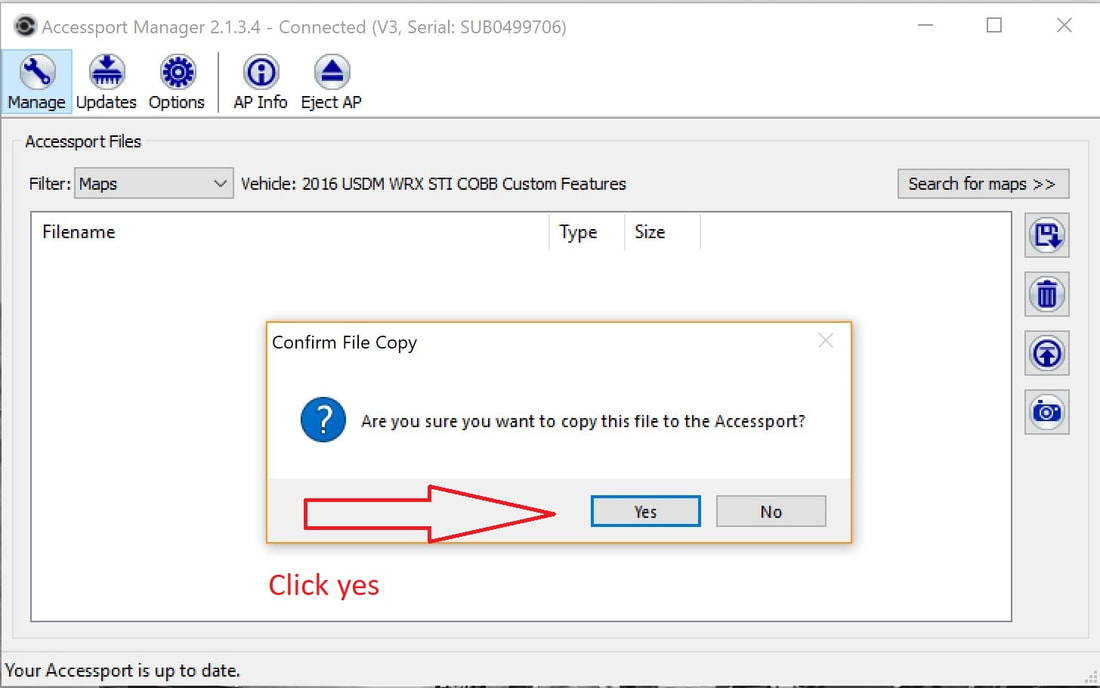
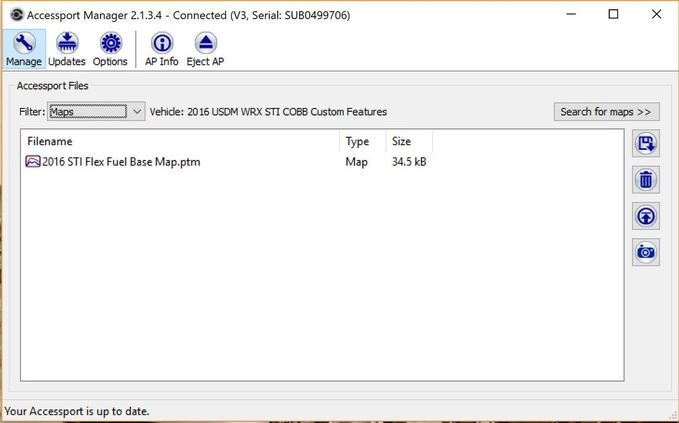
Step 3: Now that the Accessport is up to date you are ready to install the custom map onto the Accessport. Save the attached map in your email to your desktop then drag and drop the map into the Accessport Manager box.
Side note: You can at this time delete any maps that are on the Accessport at the time that you are going to use this will help clean up the Accessport and make it easier to find your custom map.
Side note: You can at this time delete any maps that are on the Accessport at the time that you are going to use this will help clean up the Accessport and make it easier to find your custom map.
Step 4: Now that you have the map installed onto your Accessport you are ready to install the map onto your car. Hook the Accessport up to your car and scroll down to Tune on the main menu on the Accessport. Click on tune and then select Change Maps. When the next screen comes up select Reflash then choose the custom base map and follow the on screen instructions.

